
- 公開日:
ホームボタン付きiPadでスクリーンショットを撮る方法
iPadでのスクリーンショット撮影は簡単な操作で可能です。
この記事では、iPadのホームボタン付きモデルで、手軽に画面の内容を保存する方法をご紹介します。
スクリーンショットを撮る
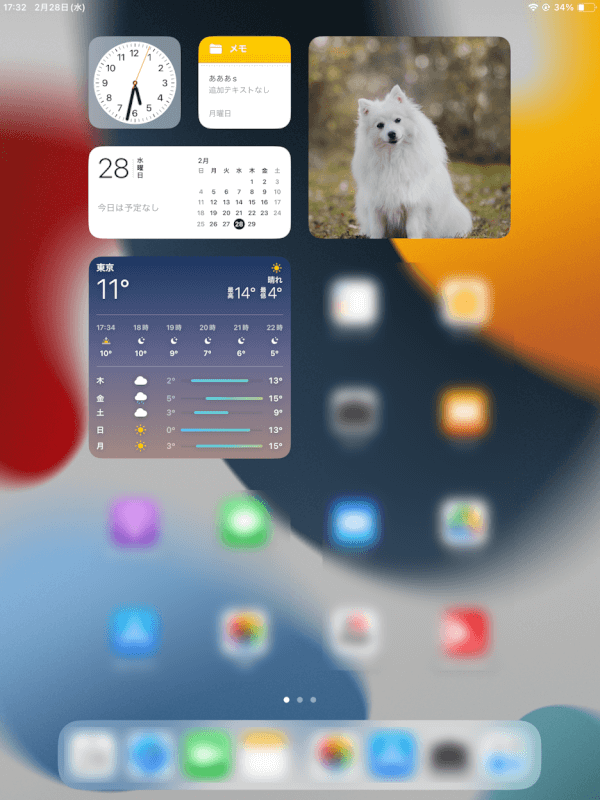
iPadを起動し、スクリーンショットをしたい画面を開きます。
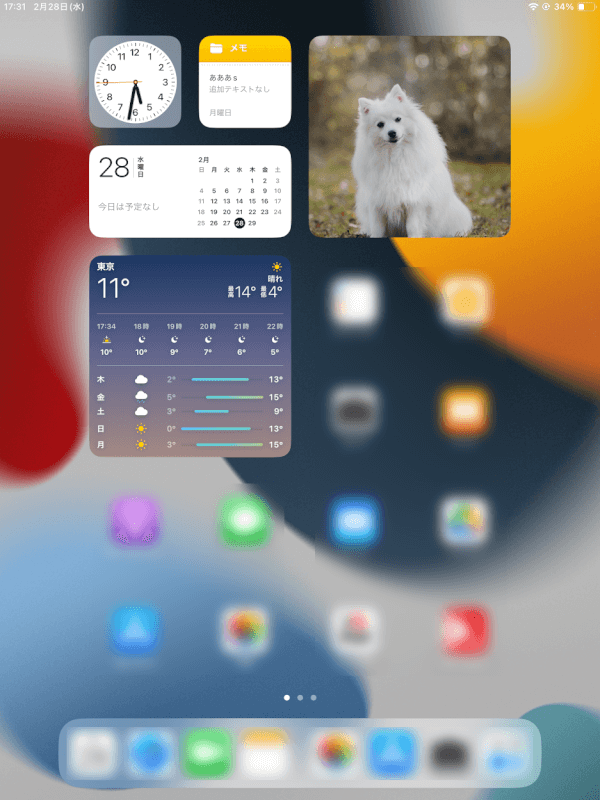
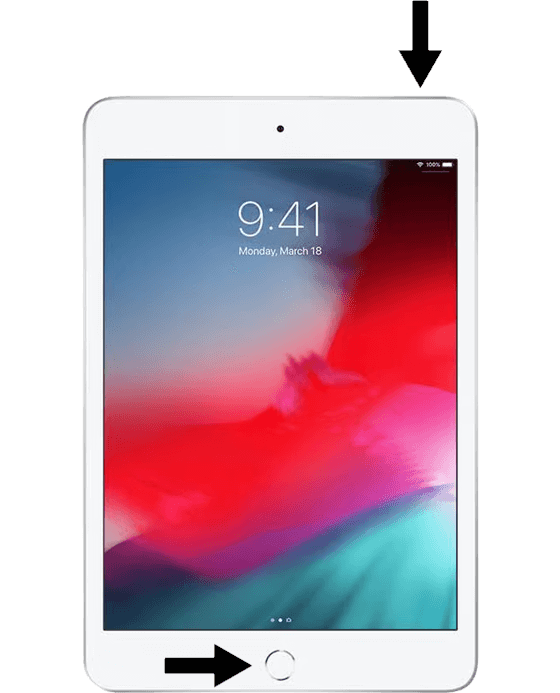
上部のボタンとホームボタンを同時に押します。 両方のボタンをすばやく離します。
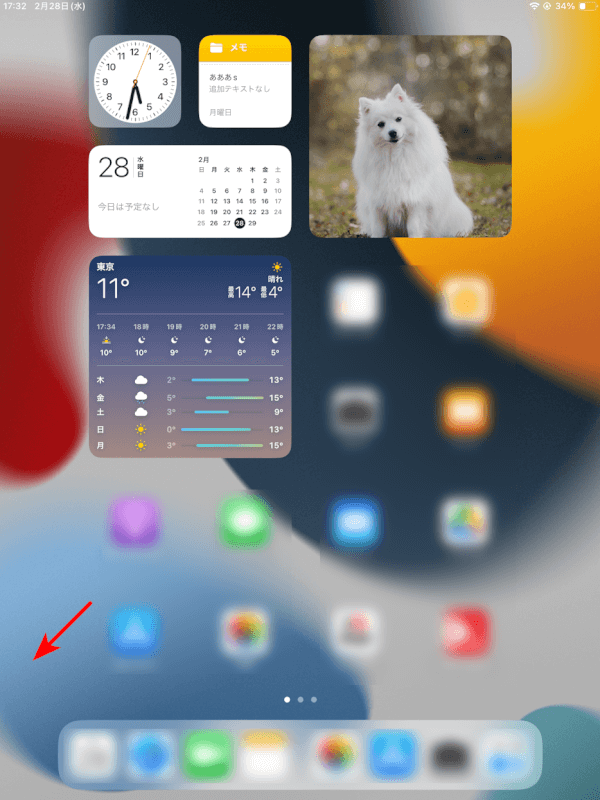
スクリーンショットを撮った後、画面の左下に一時的にサムネイルが表示されます。
サムネイルをタップして開くか、左にスワイプして消去します。
サムネイルをタップした場合、スクリーンショットを編集する画面になります。
「完了」をタップします。

保存方法を「写真」「ファイル」「クイックメモ」のいずれかに保存できます。
今回は「”写真”に保存」を選択します。これで保存が完了します。

スクリーンショットの保存を確認する
スクリーンショットの画像を確認するには、カメラアプリを開きます。
写真のアイコンを選択します。
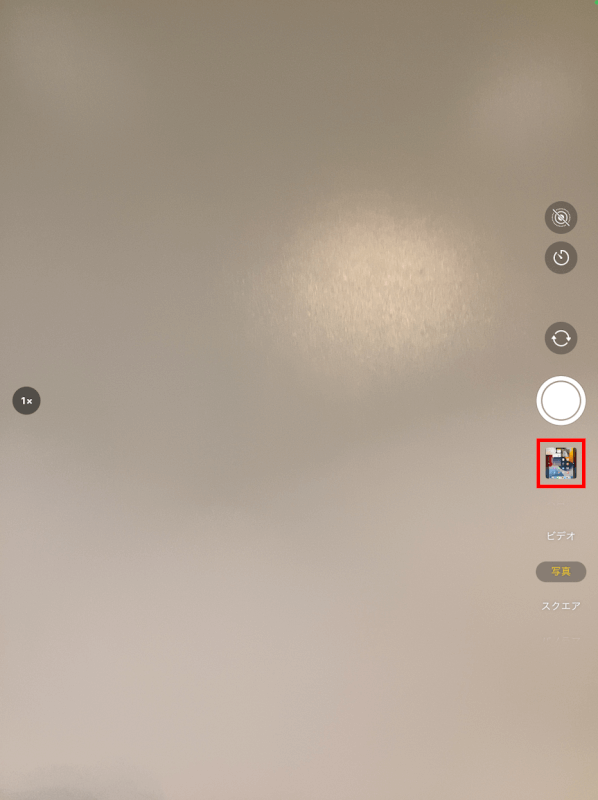
先ほどスクリーンショットした画像が表示されました。
さいごに
この方法は、ホームボタンを含むiPadモデルに適用されます。
撮ったスクリーンショットは、表示、編集、共有することができます。
問題は解決できましたか?
記事を読んでも問題が解決できなかった場合は、無料でAIに質問することができます。回答の精度は高めなので試してみましょう。
- 質問例1
- PDFを結合する方法を教えて
- 質問例2
- iLovePDFでできることを教えて
コメント
この記事へのコメントをお寄せ下さい。